Water · Category — how contaminated: 1 Clean · 2 Grey · 3 Black (grossly contaminated)
Water · Class — how much to dry: 1 part of a room · 2 whole room, water up walls under 24" · 3 saturated from overhead, up walls over 24" · 4 specialty — hardwood, plaster, masonry, bound-in moisture
Mould · Condition: 1 normal · 2 settled spores · 3 active growth
- Location
- Newport — two-storey home, Redcliffe peninsula
- Event
- Upstairs bathroom / shower overflow
- Water path
- Down into the kitchen ceiling, dining & lounge below
- Found us
- Google search — owner called direct
- Response
- On site within 2 hours
- Our scope
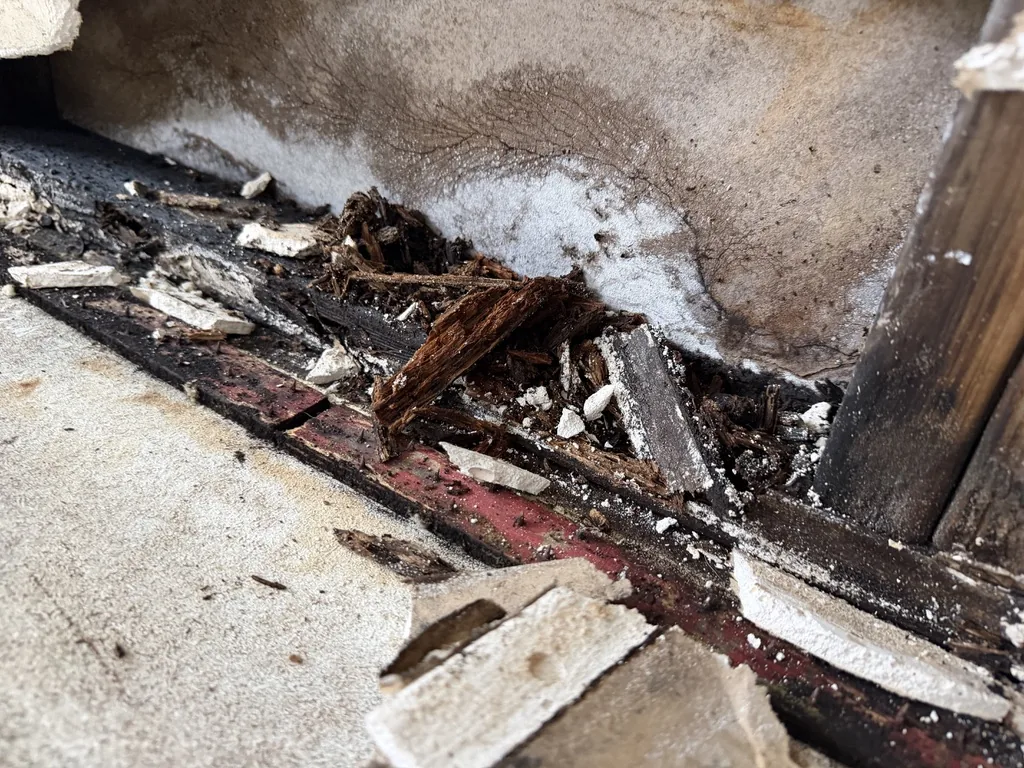
- Ceiling-void & structural drying — no strip-out
- Outcome
- Upstairs floor saved · minor repaint only · no mould
A burst of water upstairs can turn into a ceiling problem downstairs in minutes. At a two-storey home in Newport, on the Redcliffe peninsula, an upstairs bathroom overflowed and the water did what water always does — it found the lowest path and ran straight down into the ceiling, kitchen, dining and lounge below. The owner found us on Google, called straight away, and we were on site within two hours. That head start changed the whole outcome.
When the leak is upstairs, the damage hides in the ceiling
This is one of the most misunderstood kinds of water damage. Upstairs, once the water is mopped up, everything looks fine. Downstairs, that same water is now sitting inside the ceiling cavity, in the plaster and cornices and down in the wall voids — out of sight, quietly soaking into everything it touches.
Left alone, trapped water does two things: it sags and eventually collapses the ceiling, and it turns the dark, still ceiling void into a perfect mould incubator. That’s the scenario that ends in a full strip-out — ceilings down, walls open, weeks of work and a family moved out.
Drying a ceiling without pulling it down
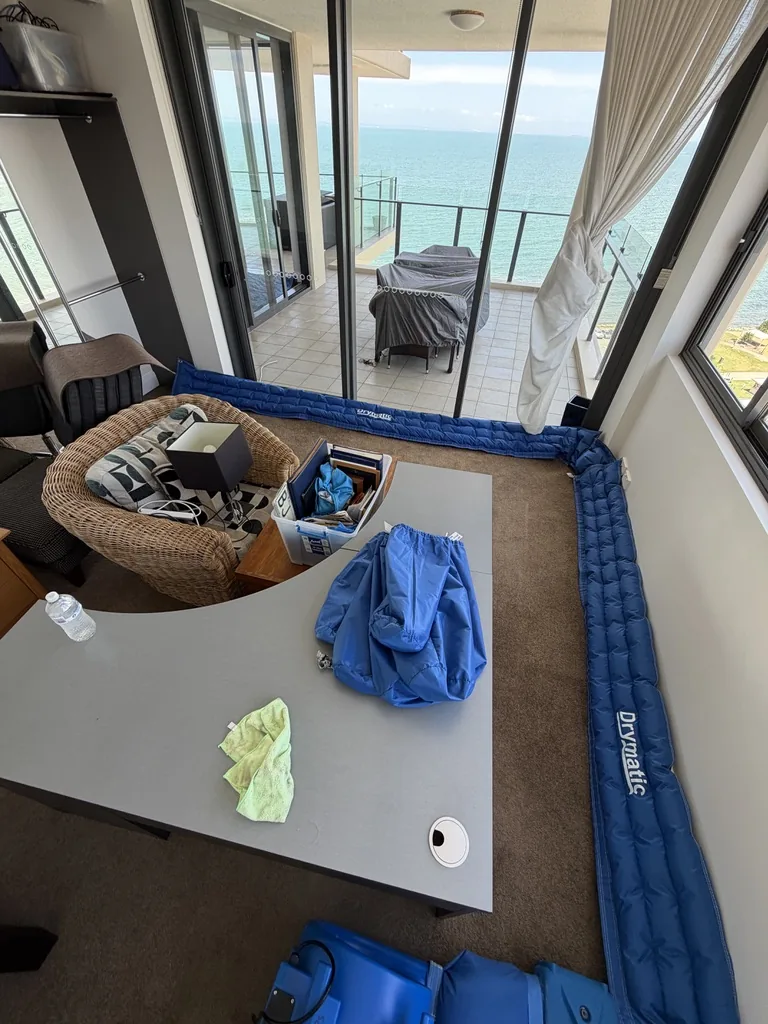
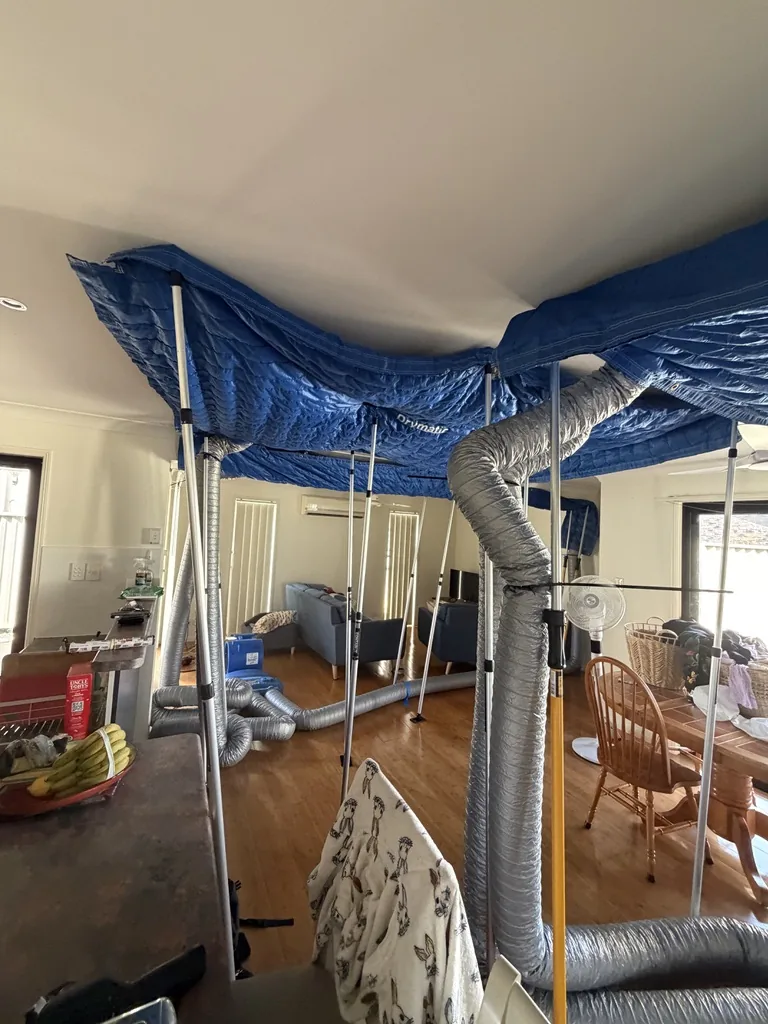
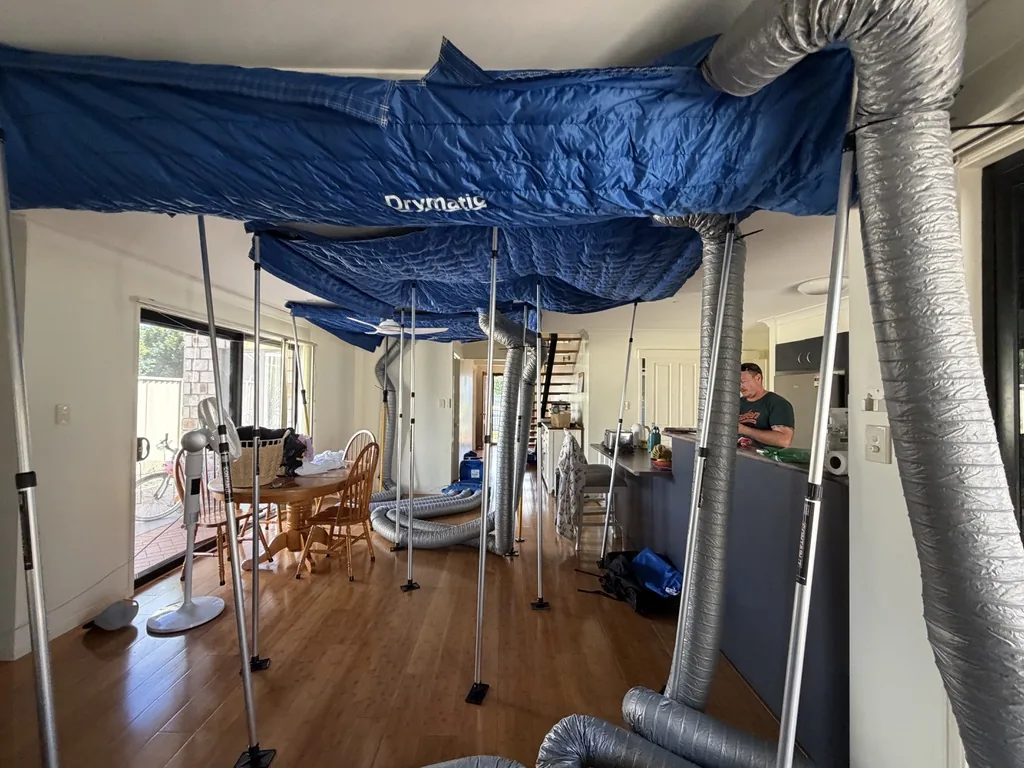
The alternative to tearing a ceiling out is drying it in place — and that’s exactly what our equipment is built for. We sealed the affected ceilings and voids and pushed warm, moving air right through the cavity, drawing the trapped moisture out of the plaster and framing without opening anything up.
It’s a striking bit of kit to see set up in a living room, but every part of it has a job: the drying tent captures and directs the airflow, the ducting delivers heat up into the ceiling void, and the whole system pulls the water back out of the structure from the inside.
Measured, not guessed
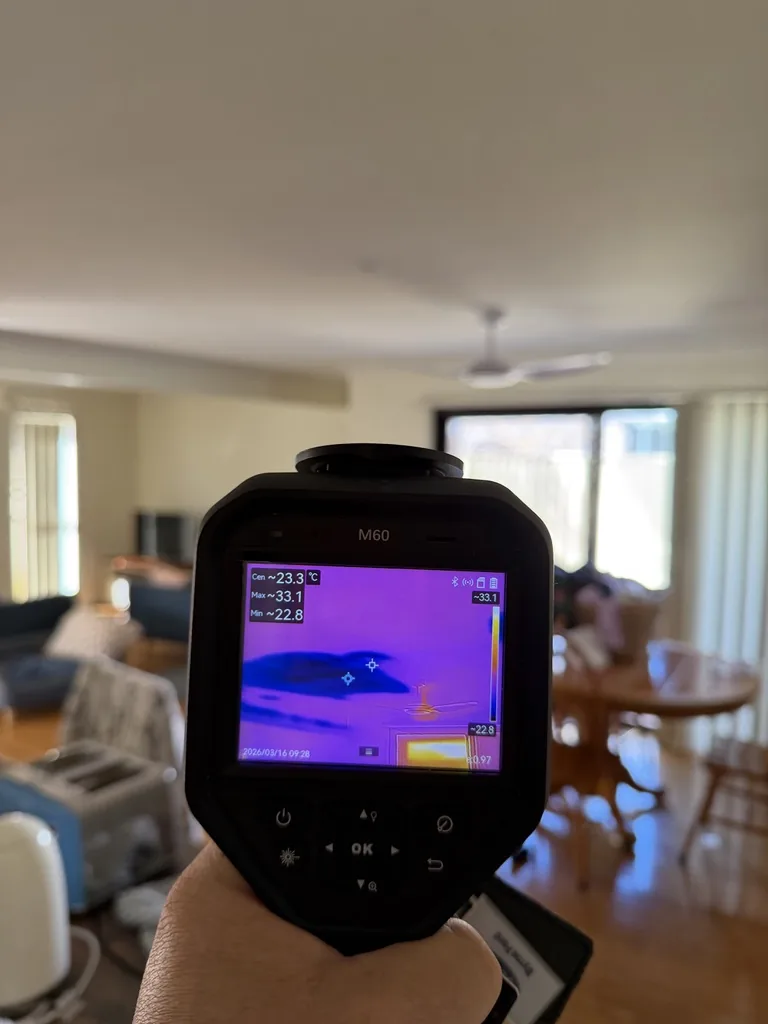
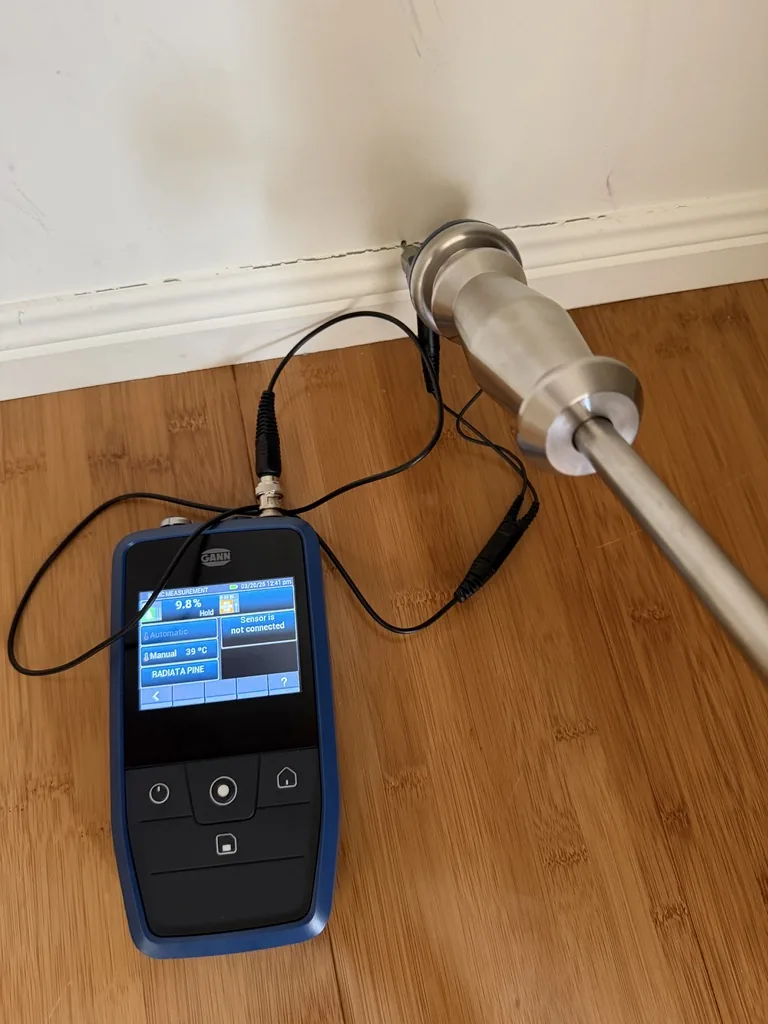
Drying isn’t finished when it looks dry — it’s finished when the numbers say so. Alongside thermal imaging, we take moisture readings directly in the timber and structure, and we keep drying and re-checking until those readings are back to a normal, dry standard. On the upstairs floor, that meant proving the boards were genuinely dry all the way through, not just dry on top.
Saved: the floor, the ceiling and the strip-out
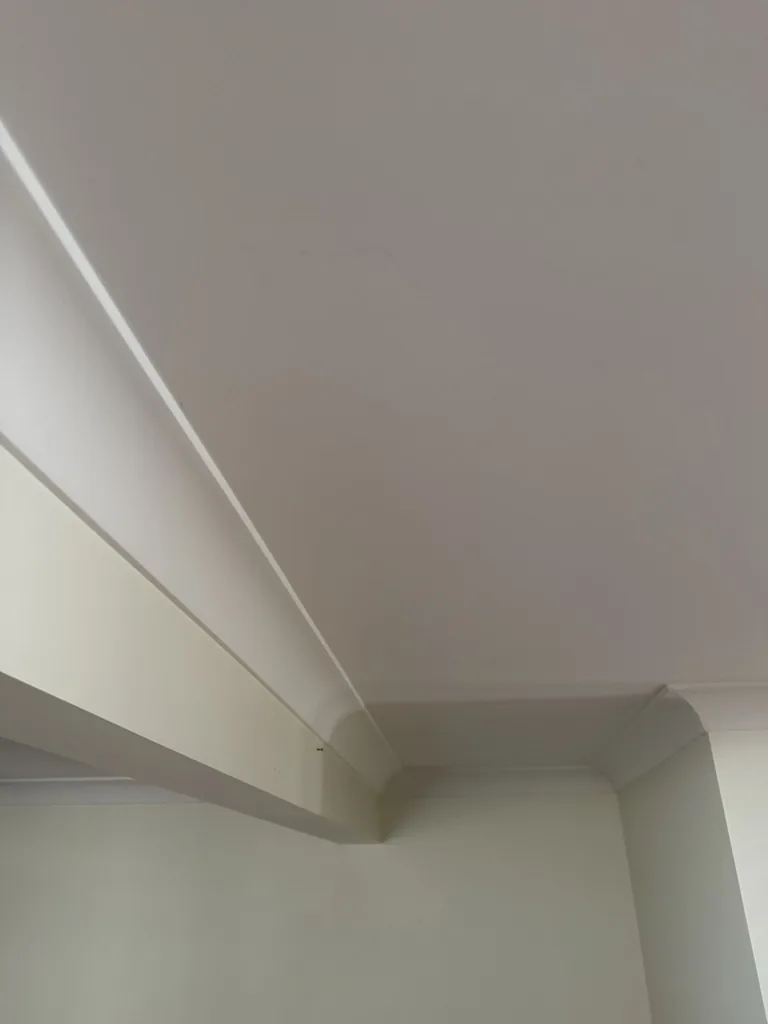
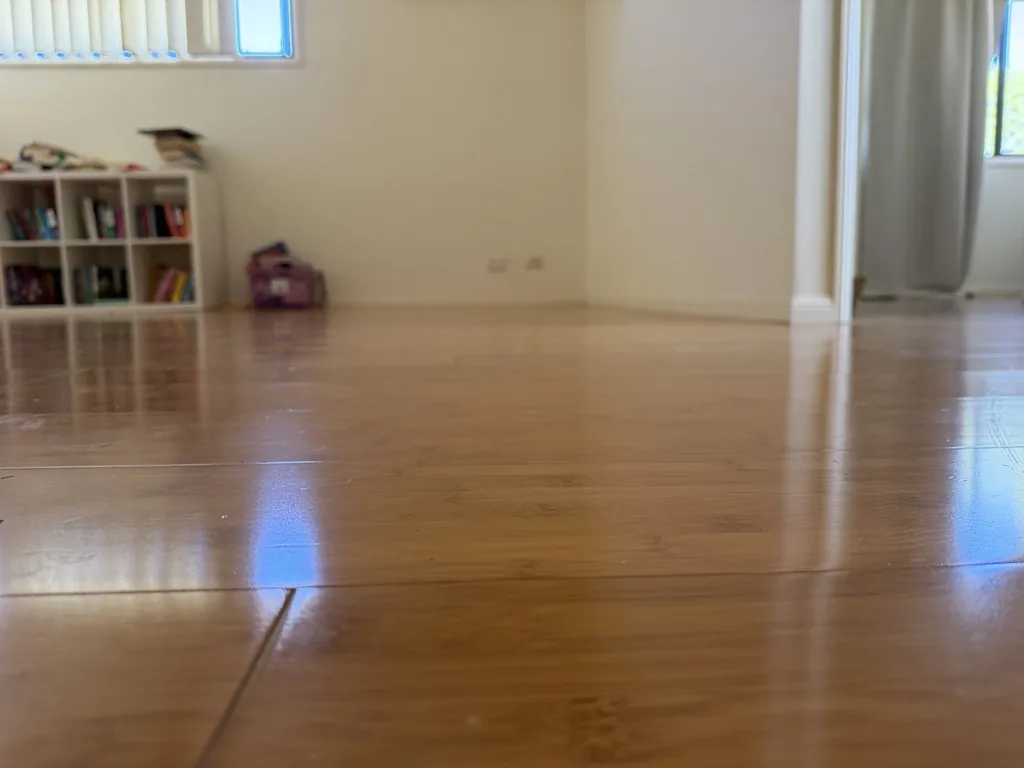
Because the water was found and dried fast, the results were about as good as a water job gets. The laminated timber floor upstairs — normally one of the first things to swell, lift and need replacing — was dried out and saved. The ceilings downstairs never sagged, so there was no ceiling replacement and no strip-out of walls or linings.
What was left was genuinely minor: some cosmetic repainting downstairs where the water had marked the surface. For want of a better word, it came down to decorative damage — instead of a gutted ground floor.
Why the mould risk stayed very low
On a job like this the damage risk starts out high — trapped water in ceilings and floors is exactly what leads to collapse and mould. What kept the mould risk very low was time. Mould needs days of sustained moisture to take hold; by getting the structure dried well inside that window, we cut the problem off before it could start. No mould, no remediation, no strip-out.
The lesson: the first phone call is the cheapest repair
If there’s one thing to take from this job, it’s that the owner’s quick reaction did more to protect their home than anything we carried in from the truck. Water upstairs is an emergency downstairs, even when downstairs still looks fine. The faster a professional drying crew is on site, the more likely you are to keep your ceilings, keep your floors, and never meet mould at all.
We answer the phone 24/7 across Brisbane, Redcliffe and the bayside, and we carry the drying and monitoring gear to dry structures in place — ceilings and voids included — so the repair stays as small as it possibly can.
General information only — every property is different, and nothing here replaces a professional, on-site assessment.